사이트 : http://www.davidhunt.ie/piphone-a-raspberry-pi-based-smartphone/
PiPhone – A Raspberry Pi based Smartphone
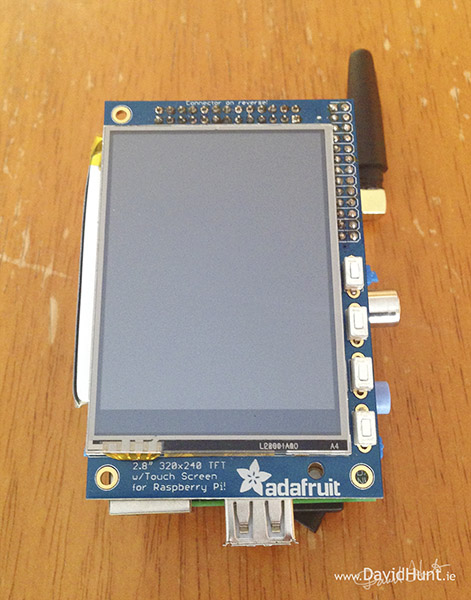
 Here’s my latest DIY project, a smartphone based on a Raspberry Pi. It’s called – wait for it – the PiPhone. It makes use an Adafruit touchscreen interface and a Sim900 GSM/GPRS module to make phone calls. It’s more of a proof of concept to see what could be done with a relatively small form factor with off-the-shelf (cheap) components. I don’t expect everyone to be rushing out to build this one, but I had great fun in doing it, as it builds quite nicely on my previous projects, especially the Lapse Pi, a touchscreen time-lapse controller, and uses most of the same hardware.
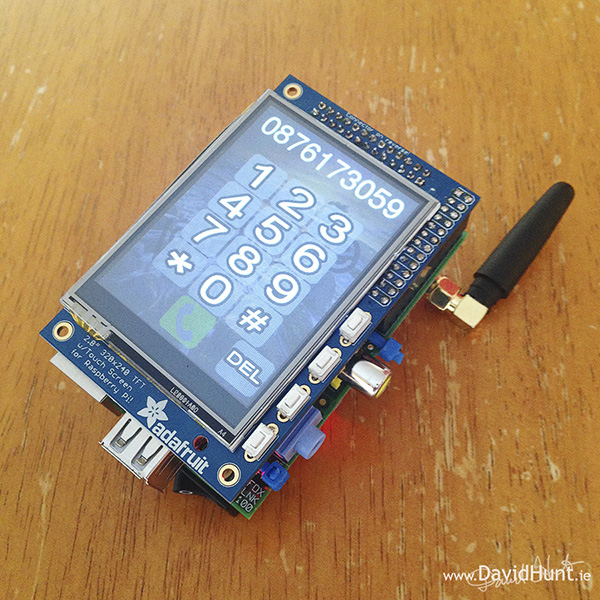
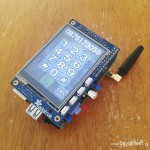
What makes this different from the Timelapse controller is the addition of a a SIM900 GSM module, which is connected via UART to the Raspberry Pi. Also, I got myself a LiPo battery that would fit nicely between the TFT screen and the Raspberry Pi, so it could be used standalone, without any wires hanging off it whatsoever. Here’s the finished PiPhone.
Also shown in the above pic is the touchscreen interface I developed for the purpose of this project. It’s a numeric keypad, with a display of the number to dial at the top, and a phone icon at the bottom to make or hang up the call.
Here’s a demo of the PiPhone in action.
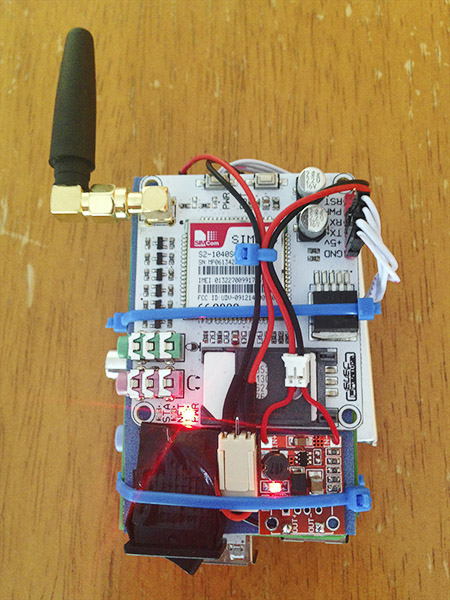
Once we turn the unit over, we can see the main communications module, which is a Sim900 GSM/GPRS module. This allow us to send standard AT commands to it to make calls, hang up, send texts, data etc. Overall a very clever module. Towards the bottom of the white PCB, you can see the SIM Card, which allows the module to associate with my local GSM network, and it’s using a regular prepaid SIM card, bought in my local phone store for €10. Below the GSM module, you can see the on.off switch and a DC-DC converter, which converts the 3.7volts from the LiPoly battery to 5volts needed by everything else. The DC-DC converter is from eBay from a UK seller. It was ore expensive than I’d like to have paid, but It was the last piece of the puzzle, and I didn’t want to wait the typical 3 weeks from China.
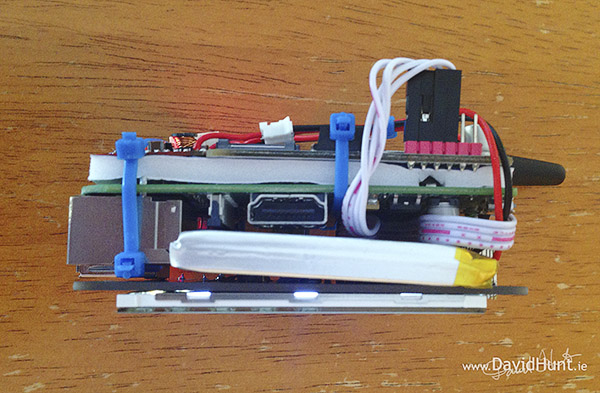
The following image gives a better view of the LiPo battery. It’s from Adafruit (http://www.adafruit.com/products/328), which fits nicely between the TFT and the Pi. The only problem with this setup is heat. It gets a bit warm around the CPU if you leave the unit switched on for several minutes, as there’s very little air circulation. With a small fan circulating the air around it, I was able to leave it on for extended periods during development, and it was cool to the touch.
Also, the 6 pin header on the GSM module sticks out a bit, so I though about de-soldering the header and soldering the wires directly onto the PCB. That would prevent the connector sticking out so much, and would sit better when placed on a flat surface.
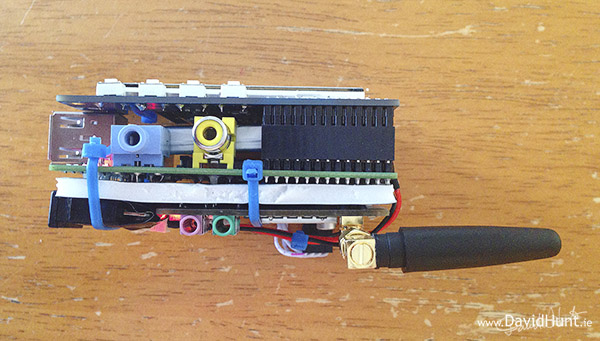
And the other side view, showing the foam-core board seperating the GSM module from the Raspberry Pi. I chose a nice thich piece to ensure no electrical connections between them. Oh, and a couple of well placed cable-ties was all that was needed to hold everything together.![]()
And one last pic showing the Adafruit TFT on top.
I presented this to my local FAbLab the night before the publication of this blog article, and one question from the audience stood out: “Do you have to pay for credit?”. That certainly made me think, and we had a good giggle at that. Yes, you still have to pay for credit in the usual way, purchase a SIM card from a local service provider. This is not going to get you free calls! Nice try though! ![]()
Costs:
- Raspberry Pi Model B – $40
- PiTFT Touchscreen 320×240 – $35
- 2500mAh LiPo battery – $15
- SIM900 GSM/GPRS module – $48
- DC-DC boost converter 3.3V – 5V 1A – $10
- Cables, connectors, switch, etc. - $10
Total: $158
As you can see from the cost of the components, you’d be FAR better off going into your local phone store and picking up a normal smartphone, but hey, where’s the fun in that. I got a great kick out of the first phone call I made with this thing. And it wont’s stay in one piece for long, I’ll be using those parts for other projects very soon!
Software
Code is available on GitHub. All the instructions are there, and links on what to do to install the PiTFT, etc.
Circuits
None. ![]() It’s all made from off the shelf components.
It’s all made from off the shelf components.
About the Author:
By day I’m a senior embedded Linux software engineer working with Emutex Ltd, an Embedded Software Solutions company in Limerick Ireland. In my spare time, I take pictures, and play with gadgets and technology.
Google Plus: https://plus.google.com/u/0/103494825025710742625/posts
Twitter: https://twitter.com/climberhunt @climberhunt
Facebook: https://www.facebook.com/davidhuntphotography
Be sure to check out my other Raspberry Pi related articles, and if you like, you can subscribe by entering your email address at the top right of the page. ![]()
Code is now available at https://github.com/climberhunt/PiPhone
'라즈베리파이(RPI)' 카테고리의 다른 글
| [추천] [해외] PortaBerry Pi: Handheld Raspberry Pi Emulator (0) | 2014.11.21 |
|---|---|
| [추천] [해외] Drop Pi – Water Droplet Photography with Raspberry Pi (0) | 2014.11.21 |
| [해외] Raspberry Eye (0) | 2014.11.21 |
| [버섯][추천][펌] Realtek Wi-Fi Direct Programming Guide (0) | 2014.11.21 |
| [추천][펌] Raspberry Pi - Installing Oracle Java SE 8 (Milestone 8) Developer Preview (0) | 2014.11.21 |
